Netopti Dynamic DNS Configuration
This is a step-by-step guide to configuring the DynDNS updater from Kana Solution for use with the Netopti Dynamic DNS service.
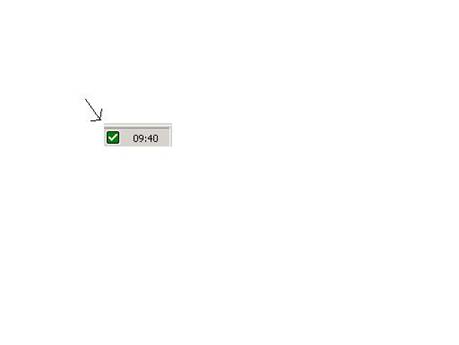
Launch DynDNS updater
After installation of the client, launch DynDNS updater by double clicking on the icon on the task bar:
This will launch the DynDNS updater and display the following Info screen:

Add account
At the Info screen, click on the “Settings…” button and the Settings screen will appear:
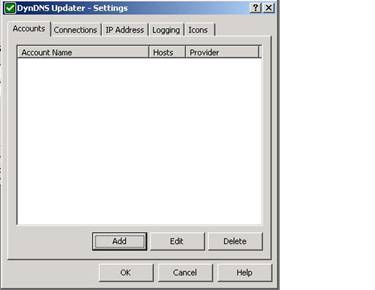
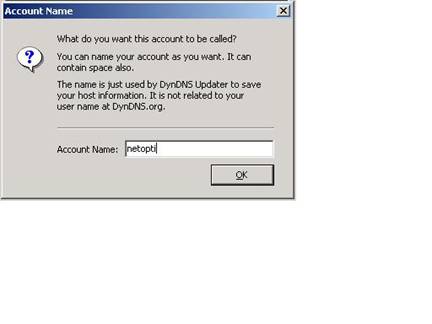
Click on the “Add” button to add a new account. A window will appear asking for a name for the account. Type in “netopti” and click “OK”:
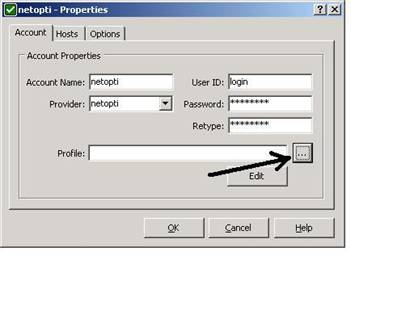
A Properties window will appear. Enter your user ID and password you used when you signed up for your Netopti Dynamic DNS account. At the “Provider” field, you will notice that it’s a drop-down box. Click on this field and type in “netopti”:
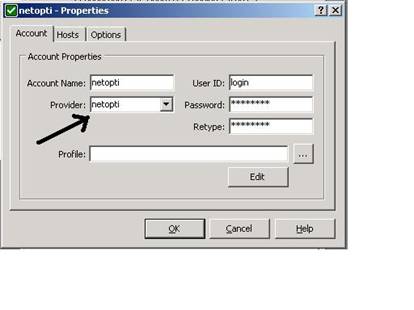
Then, to install the custom profile for Netopti, click on the browse button “…”:
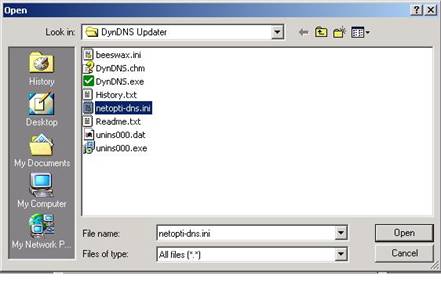
This will launch the Open window, select the netopti-dns.ini file that you downloaded under the clients section on http://www.netopti.net/dns/clients and click “Open”:
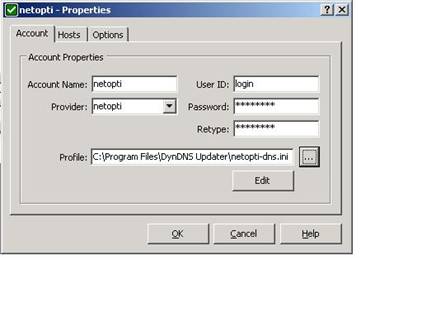
Back in the properties page, it should look similar to the following:
Add Hosts
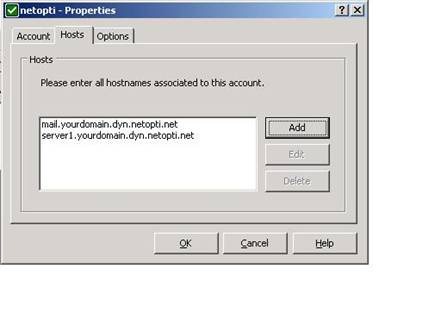
Now click on the “Hosts” tab:
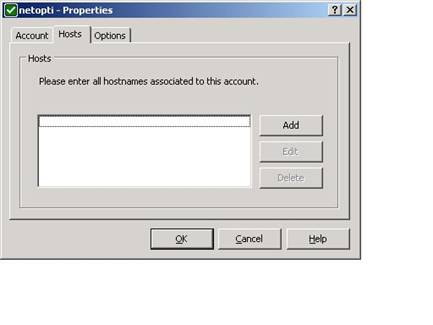
Then click the “Add” button and add all the hosts you want to have updated manually. These are all the hosts with “A” records configured on your DNS manager that you want to keep up to date with your current dynamic IP address:
Once the account and host settings have been set up, you can click “OK” to return to the Settings window.
General Settings
In the Settings window. Click on the “IP Address” tab. Select “Detect IP address automatically” and type in the following server URL: http://checkip.netopti.net/
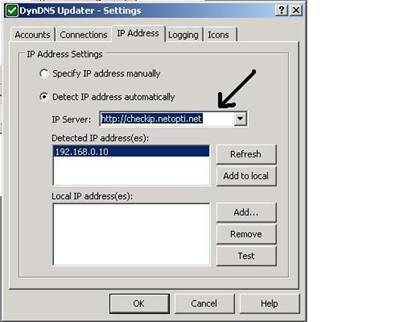
This will ensure that if you are between an address translating proxy or firewall, that it will update the DNS hosts with the IP address visible to the internet.
If you can not access the internet without the use of a proxy server on your network, you can set the proxy server under the “Connections” tab.
Once you are finished, click “OK” to return to the Info screen.
Testing
Once everything is configured, click “Update”.
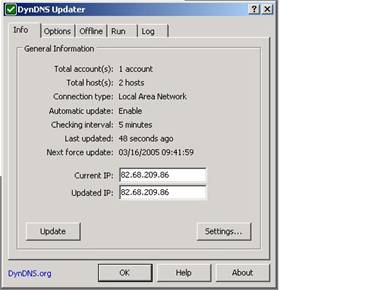
If everything goes well, the icon will stay green, if anything goes wrong the icon will change to red or yellow. You can view further details regarding the updates and the errors by clicking the “Log” tab.
If you are still stuck, please feel free to mail support@netopti.net